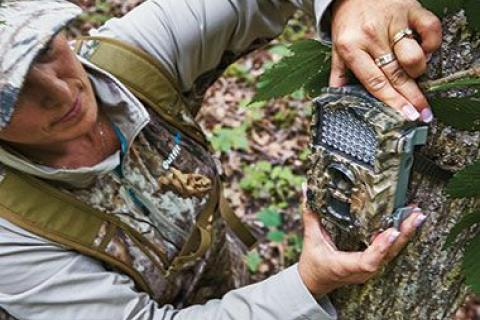
Advanced Hunting Tools That Have Emerged as Essential Gear
Thanks to advances in technology, trail cameras have become an essential hunting tool. In fact, they’ve become so useful that even outdoor photographers and security-conscious homeowners are taking advantage of the wide variety of trail cams available today. To choose the one that’s best for you, it’s important to consider how you’ll be using the trail camera and the features you’ll need. Shop our entire lineup of trail cameras at Cabelas.com!
Trail Camera Uses
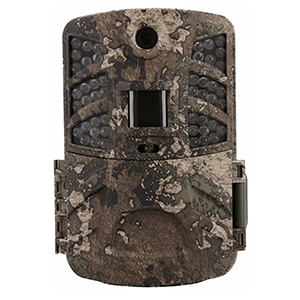
Scouting – Trail cameras have revolutionized scouting by providing hunters and wildlife watchers with precise information about what kind of animals frequent an area. It will not only show you the number, gender, size and trophy quality of game animals around the area, but it will also take pictures of other animals that happen to wander by.
Home Security – Trail cameras are becoming more and more popular for home security. Oftentimes, setting up a trail cam or two around your property is less expensive than purchasing a home-security system. They take excellent nighttime photos and/or video, so they can be used all day long, and they even stamp the footage with crucial information, like the time and date.
Trail Camera Photos
Here are some features to look for when considering a trail camera’s photo capabilities.
Megapixels (MP) – Think of megapixels as the building blocks of a photo. Generally, the more megapixels there are, the sharper your image will be. However, you shouldn’t let megapixels be the only deciding factor when choosing a camera. Super-high megapixels are necessary if you’re using your trail cam for outdoor photography, but you can still get a solid, good-quality picture for scouting or home security with a lower count.
Burst Mode – In burst mode, the trail cam takes multiple pictures in a row very quickly. This ensures you get a good look at even the fastest of animals once the camera is triggered – day or night. Some have a set number of images you can take in a burst (like three), but others allow you to select the number (up to nine, for example).
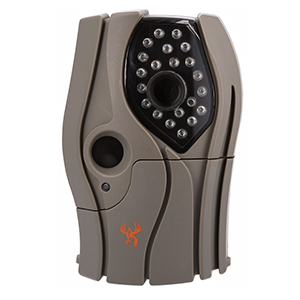
Time-Lapse Mode – In time-lapse mode, the trail cam automatically snaps a picture at certain time intervals – such as every five minutes. With many models, you can choose how often a camera takes pictures and how long it will operate in time-lapse mode. This is a convenient feature for hunters. It allows you to see when and from what direction your quarry enters your chosen spot, how long it lingers and when and where it leaves. However, standard time-lapse modes work only during daylight hours. Some higher-end models feature a nighttime time-lapse mode, which is a must-have for tracking nocturnal wildlife.
Time and Date Stamps – Most cameras attach important data to each image, including the time and date the photo was taken. Some also add the temperature, moon phase and even a camera ID number. This is incredibly helpful when pinning down the perfect time to hunt and critical if you’re using the camera for home security.
Trail Camera Video
More and more trail cameras are adding the option to capture video when triggered. Recording video allows you to get a unique glimpse of the wildlife on your property and can be crucial for home security. Here’s what to watch for:
Resolution – A video’s resolution is how crisp it appears. Much like megapixels, the higher the resolution, the sharper your video will be. 640x480 resolution is considered to be standard definition, while 720p or 1080p is high definition. Most medium- to-high-feature cameras on the market are high definition. A few cameras are now available with 4K resolution.
Duration – Most video-recording trail cameras will allow you to choose the length of video that it will record. Videos can range from three to a whopping 300 seconds, depending on the model.
Audio – Most models with video capabilities will include audio, but be aware that some may not have audio at all. Sound may not be necessary if you’re using the footage to track game, but if you’re using it for home security, you may want to have video with audio.
Time-Lapse Video Mode – In time-lapse video mode, the camera records a short video at certain time intervals, such as every hour. You can choose the time between video recordings and the length of the video that will be recorded. Be aware that time-lapse for photos and time-lapse for videos are two different things. If this is a feature that you would like to have, then look for one that states specifically that it is capable of time-lapse video.
Hybrid Mode – In hybrid mode, the trail cam will take both a photo and a short video. You get the best of both worlds with just one trigger, but it’s usually found only on higher-end models.
Caution – While cameras have incredible video capabilities, it is important to note that recording video takes a lot of battery power and can drain batteries much faster than taking still images. This is especially true at night because it takes more energy to power the LEDs at night.
A Trail Camera's Detection Range
Simply put, the detection range is how far away a subject can be and still trigger the camera to take a photo. A longer detection range can cover
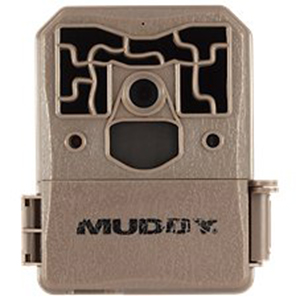
more ground and would be ideal for surveying a large field for wildlife. But short detection ranges have their place, too. They’re a great choice for more enclosed places or even game trails.
The Trail Camera's Trigger Speed and Recovery Time
Trigger speed and recovery time are two very important but often overlooked features. They work hand in hand to ensure a trail camera can take a bunch of pictures without missing the action.
Trigger Speed – This is how fast a camera takes a picture once it detects motion, and the faster the better. Slow trigger speeds result in photos with just half an animal or no animal at all. The best-performing trail cameras boast trigger speeds of less than half a second. While some trigger speeds are very fast, the wake-up time of the camera is equally important. If a camera has a slow wake-up time and a fast trigger speed, there is risk of not catching a full image of an intended animal.
Recovery Time – This refers to the amount of time a trail cam needs to reset itself for another shot after it has already taken a photo or photo burst. Recovery times can range wildly – anything from a blazing-fast one second to a sluggish one minute. Slower recovery times can mean missed snapshots of bucks trailing a doe, but they will work well if the camera is watching over a food plot.
Trail Cams Flash Types
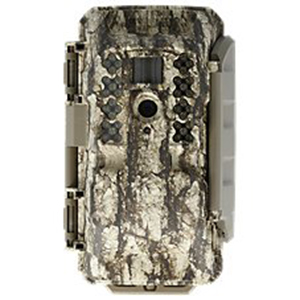
All cameras require light in order to take a picture, especially at night, and trail cams are no different. So, it’s important to choose the right type of flash for your intended use.
White Flash – White flash will use bright, white light to illuminate a subject, resulting in full color images, day or night. But it will most likely spook any wildlife that has triggered the photo. Our testing shows that animals are only spooked for a brief time before acclimating to the flash and resuming normal behavior.
Low Glow – Also referred to as Red Glow or Infrared. This type of flash produces a dim but still-visible red glow when taking nighttime photos (although you usually have to be looking straight at the camera to see the flash). This will produce black-and-white nighttime photos only.
No Glow – Also called Black Infrared or Black Flash. This flash emits no visible light at all, which eliminates any chance of scaring game away. It’s also a great choice to surveil your home without alerting anyone to the presence of your camera. Also produces black-and-white nighttime photos only.
Flash Range – The flash range is how far away a subject can be and still be illuminated by the flash. Higher flash ranges can yield more scouting information.
Viewing Your Trail Cams Footage
Once the trail cam has captured its material, you have a few different choices when it comes to viewing the photos and videos:
Integrated Viewing Screen – With a built-in screen, you can flip through the footage, much like a digital camera. This is especially convenient if you’re checking the camera in the field. On-board viewing screens are small so details can be difficult to see, but an on-board screen is a great option for quick review of images and useful feature to check camera placement to ensure your camera is aimed properly.
No Screen – A lot of trail cameras do not bother with a viewing screen, which is great if you want to save on cost. However, this means you’ll have to remove the SD card and take it home with you to view the photos on your computer. Or, you could use a special adapter that would allow your smartphone to read the SD card while you’re in the field.
Wireless Download – Some high-end models allow you to download images from the camera to your device over the Internet. Others will email or text you the photos. This method would be ideal if you don’t have time to go into the field or if you want to keep a close eye out for that one wily buck. Check out Cabela's lineup of wireless trail cameras.
If you have multiple game cameras to check and no time to waste, you may also want to look into special trail-camera networks that allow you to connect all of your cameras. Images from all of your cameras would then be sent to one main unit, and you would only have to check that camera to see all of the photos and/or videos.
A Trail Camera's Storage Capacity
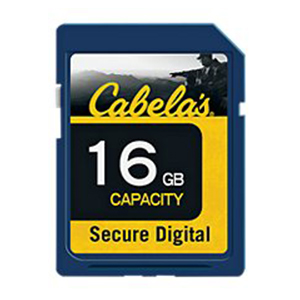
Almost all trail camera use SD cards to store photos and videos, and they’re available with different storage capacities. Depending on your camera settings and the capacity, a card can hold thousands to tens of thousands of photos.
What size SD card do I need? It depends. High-megapixel photos can eat up a lot of storage space. For example, a 32GB card can hold more than 11,000 8MP photos but can only hold a little over 4,000 22MP photos. If you’re using time-lapse or burst mode frequently, you can see how photos can add up fast.
Videos also take up a lot of storage, so you’ll want to plan accordingly. In addition, you should consider how often you’ll be checking the camera. The less frequently you want to check, the more storage space you’ll need.
Be sure to check what storage capacities a trail camera is compatible with. A camera that’s compatible with SD cards up to 32GB will not recognize one with a larger capacity like 64GB.
Regardless of card storage size, always use Class 10 cards in your trail cameras for optimum performance. Class 10 cards have better read/write capability and allow the card to continue to write and save images over and over. Many technical issues with cameras are related to corrupt SD cards. If you have trouble with a camera, try a new card. This will often solve the problem.
Understanding the Trail Camera Power Supply
A reliable, long-lasting power supply is a key part of capturing tons of quality images and videos. There are a couple of choices:
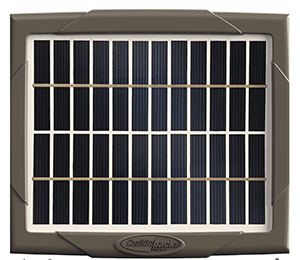
Lithium Batteries – These batteries are long-lasting and better in cold weather than alkaline. In fact, alkaline batteries are not recommended for use in trail cameras. Lithium batteries can last for more than a year, depending on the camera and how active it is. Lithium batteries give more consistent power than alkaline batteries. As alkaline batteries are used, they can only give a device the available power they have left. So, an alkaline battery with 50% power left is only giving 50% power to a device. A lithium battery gives 100% of its power until it dies.
Solar Panel – Solar panels can power your trail camera indefinitely (so long as the sun is shining). Any model that has an external power port will accept a solar panel, which you can use to supplement your camera’s batteries. However, solar panels are more noticeable and require a setup that allows the sun to shine on the panel.
- 7621 views

