
How to Make Wild Turkey Lunch Meat
Wild turkey is one of the best wild game proteins you can bring to the table, but a lot of hunters only use it for the same few recipes. If you want a fresh way to use turkey breast, homemade wild turkey lunch meat is a smart option.
Introduction
In this recipe, Jenn Yarbrough shows how to turn 2 pounds of wild turkey meat into deli-style slices using a ham maker, food processor, stand mixer, and slicer. You will learn how to prep the meat, build the right texture, cook it safely, and slice it to your preferred thickness.
Why This Recipe Matters Right Now
Making your own wild turkey lunch meat gives you another way to use harvested birds without relying on fried cutlets or standard oven roasts.
It also helps you:
- Use wild game in a family-friendly way
- Control seasoning and thickness
- Make sandwich meat with simple ingredients
- Get more variety from your turkey harvest
Because the meat is mixed to a smooth, uniform texture and cooked in a ham maker, the finished result looks and slices more like traditional deli meat.
Pro Tips from Jenn Yarbrough
According to Jenn, success comes down to a few key details:
- Use a slicer for consistent deli-thin cuts. A commercial slicer helps you get the exact thickness you want.
- Puree part of the meat. Grinding one-third of the turkey into a paste helps create the lunch meat texture.
- Mix long enough to break down chunks. Running the stand mixer for about 30 minutes helps bind everything together.
- Pack the ham maker tightly. Removing air pockets helps the finished loaf hold its shape.
- Cook by internal temperature, not guesswork. Heat the water to 180 degrees and cook until the meat reaches 165 degrees.
- Cool it fully before slicing. An ice bath helps firm the loaf and makes slicing easier.
Ingredients
For this recipe, you will need:
- 2 pounds wild turkey meat
- 2 teaspoons gelatin
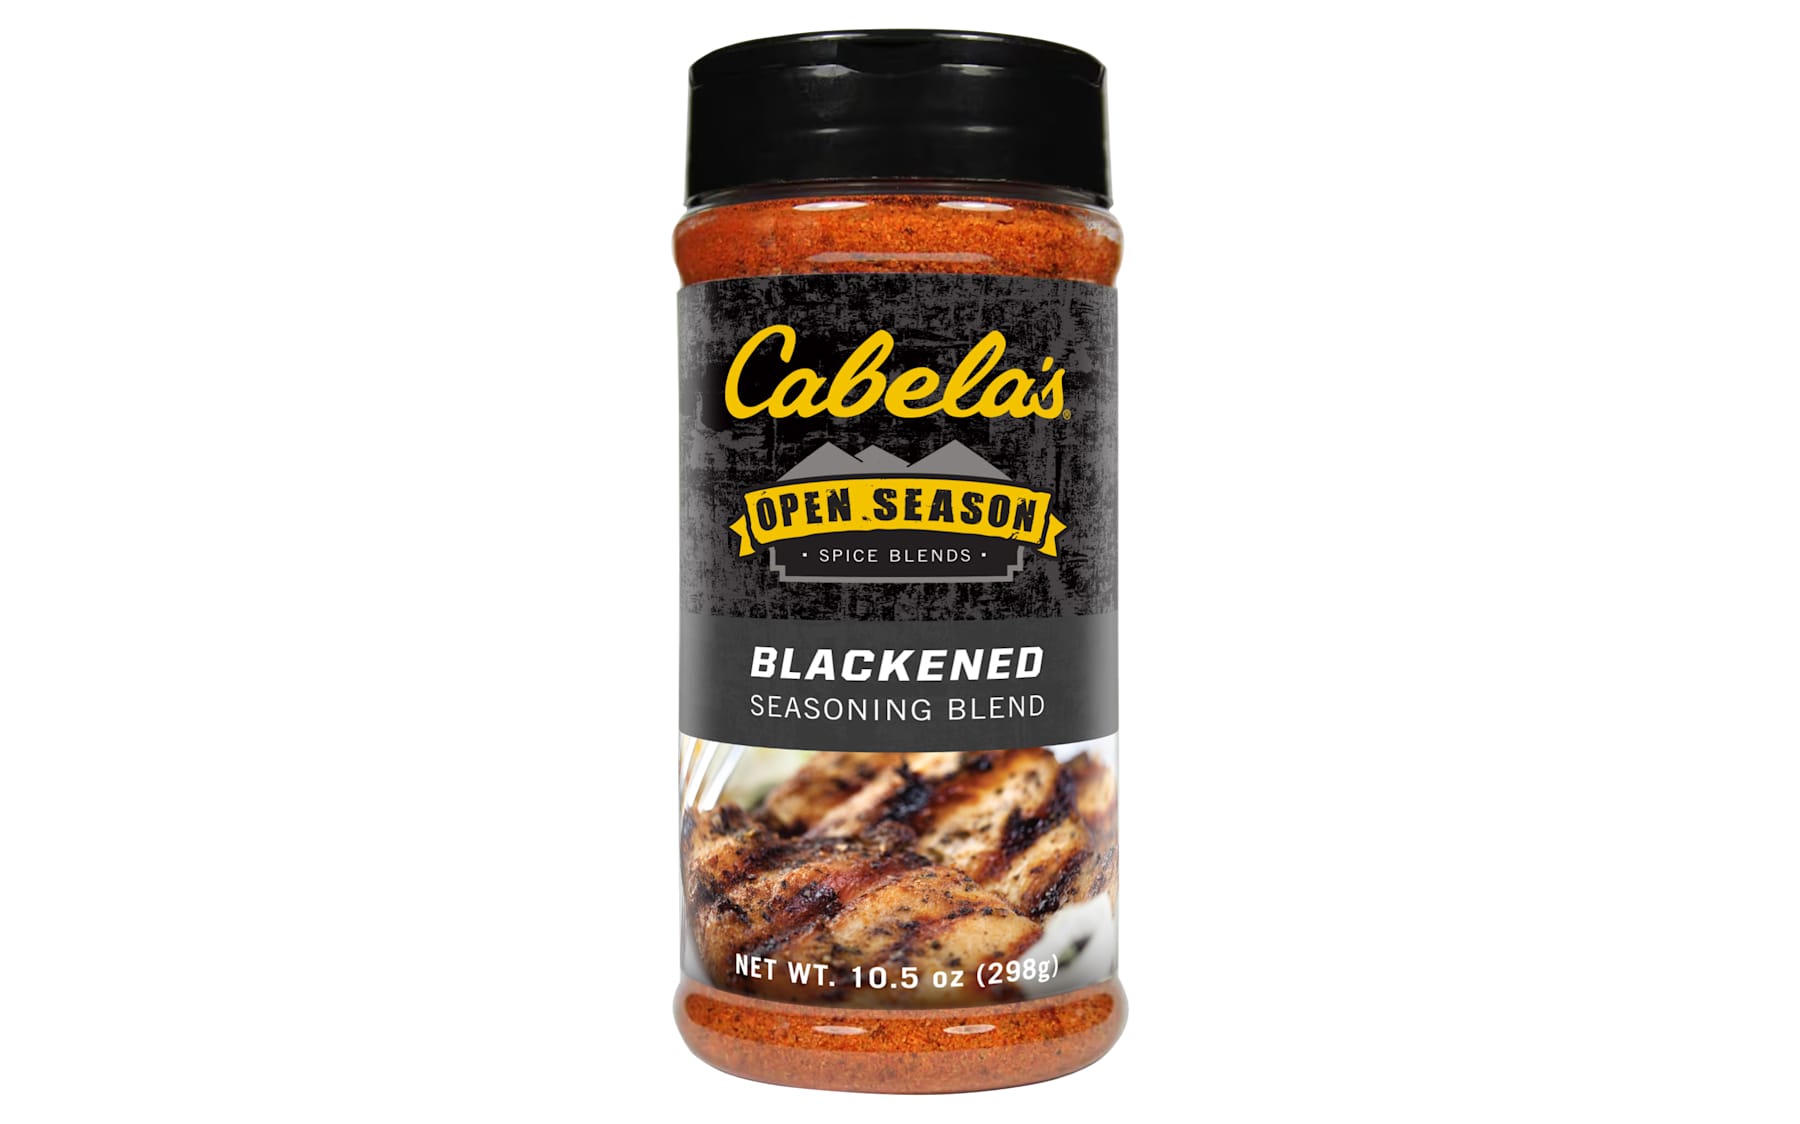
- 7 teaspoons seasoning such as Cabela’s Open Season Blackened Seasoning
- 4 teaspoons olive oil
Jenn uses Cabela’s Blackened Seasoning, but any seasoning blend that sounds good for sandwich meat can work.
Equipment You’ll Need
This recipe uses a few specialty tools:
- Commercial grade slicer
- Ham maker
- Food processor
- Stand mixer
- Stock pot
- Temperature probe
- Ice bath setup
Jenn uses the Cabela’s Commercial-Grade Food Slicer, but any adjustable meat slicer can work. She also notes that the bag included with the ham maker is optional, though it makes cleanup much easier.
Step-by-Step Breakdown

Step 1: Measure and trim the turkey
Start with 2 pounds of wild turkey meat. Chunk the meat into smaller pieces and remove all tendons, gristle, and tough connective tissue. This matters because chewy bits will affect the final texture.

Step 2: Separate the meat for texture
Take two-thirds of the turkey and place it in the bowl of a stand mixer.
Put the remaining one-third into a food processor and blend it until it reaches a puree consistency. This pureed portion helps create the smooth, sliceable texture you want in lunch meat.
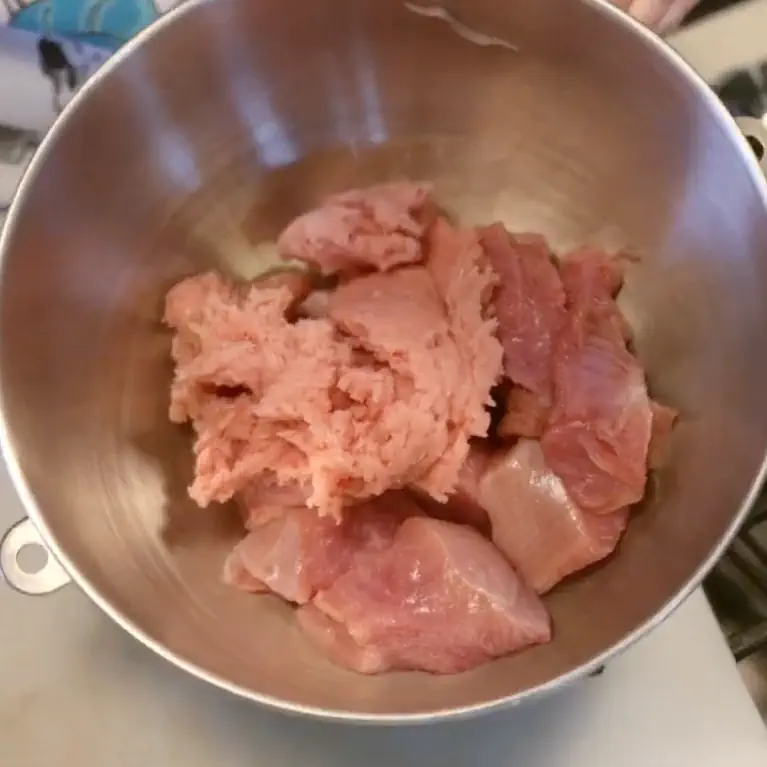
Step 3: Combine the meat and seasonings
Add the pureed turkey back into the mixing bowl with the chunked meat.
Then add:
- 2 teaspoons gelatin
- 7 teaspoons seasoning
- 4 teaspoons olive oil
This blend helps bind the meat and gives it a deli-style consistency after cooking and cooling.
Step 4: Mix until the meat becomes tacky and uniform
Set the stand mixer to speed 3 and let it run for about 30 minutes.
The goal is to break down the chunks, tenderize the meat, and fully combine the mixture. This is one of the most important steps in the process.
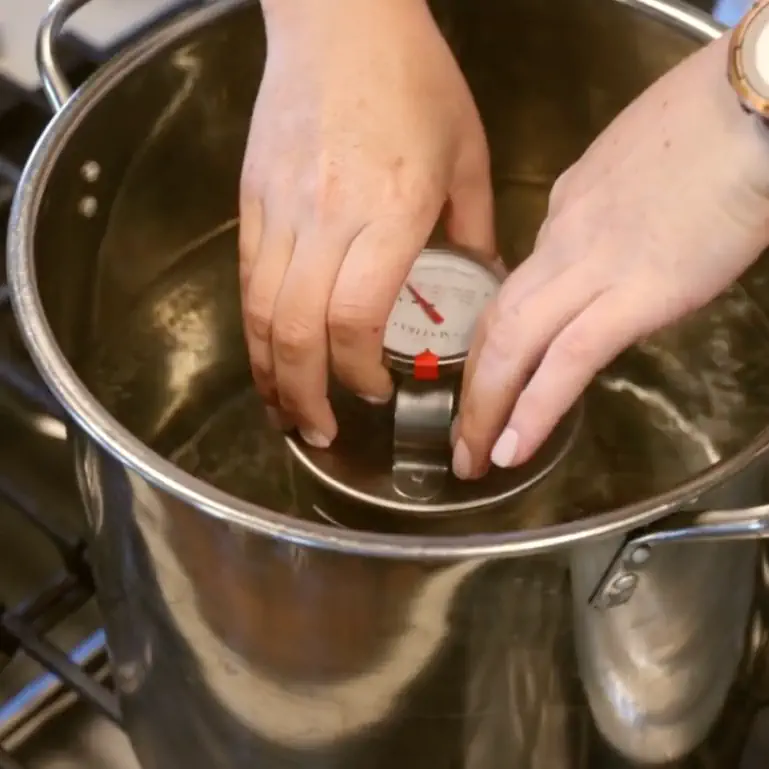
Step 5: Heat the water
While the mixer is running, fill a stock pot with enough water to come partway up the ham maker.
Heat the water to 180 degrees. This is the target cooking temperature for the water bath.

Step 6: Fill the ham maker
Place one of the ham maker bags inside the canister if you are using it.
Pack the turkey mixture tightly into the ham maker. Press it down firmly so there are no air pockets and the meat forms a compact log shape.
Step 7: Insert the probe and cook
Assemble the ham maker and insert the temperature probe through the designated opening.
Place it in the 180-degree water bath and cook until the internal temperature of the meat reaches 165 degrees.
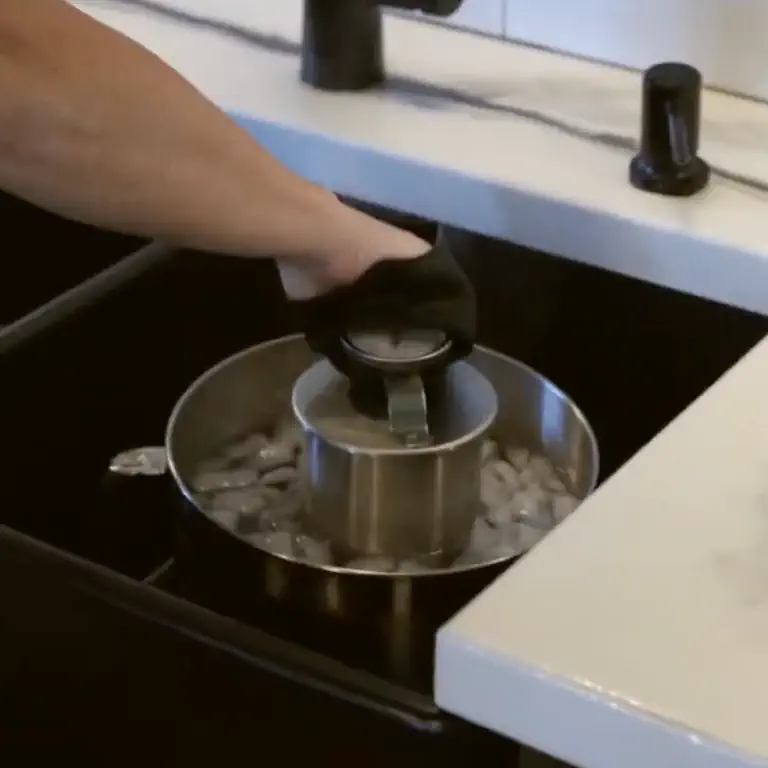
Step 8: Chill in an ice bath
Once the turkey reaches temperature, remove the ham maker and place it in an ice bath.
Keep the lid above the waterline. Let it cool for a couple of hours so the loaf firms up.

Step 9: Remove, rinse, and prep for slicing
After chilling, remove the loaf from the ham maker and bag.
You will likely see gelatin on the outside. Jenn notes that this is normal. Rinse it off before slicing.

Step 10: Slice to your preferred thickness
Place the chilled turkey loaf on the slicer.
Jenn demonstrates slicing at different settings, including levels 1, 2, and 3, to show how you can create different deli-style thicknesses.
Recommended Gear for This Recipe
The right equipment makes this recipe much easier and gives you better results.
Recommended gear includes:
- Commercial slicer for even lunch meat slices
- Ham maker for shaping and compressing the loaf
- Food processor for the pureed meat portion
- Stand mixer for long mixing and texture development
- Probe thermometer for safe cooking
- Large stock pot for the water bath
For ingredients and kitchen gear, shoppers can browse Bass Pro Shops or Cabela’s for seasoning blends, food prep tools, and outdoor cooking accessories.
Discover more food processing gear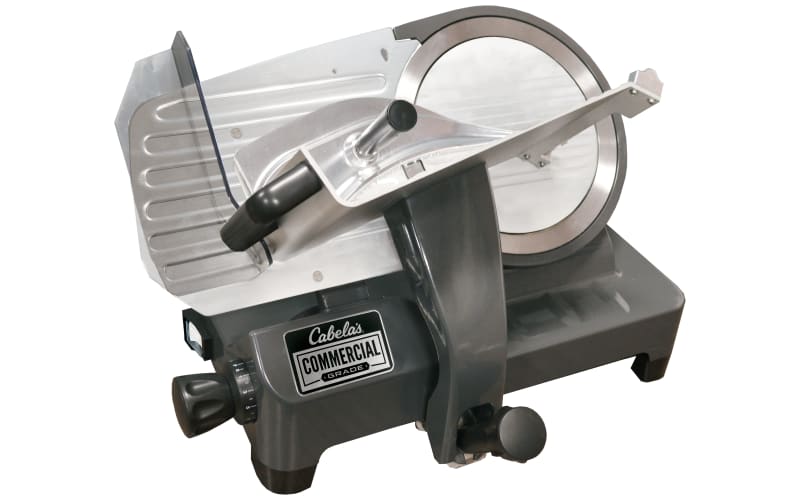
Common Mistakes to Avoid
- Leaving tendons or gristle in the meat
Tough connective tissue can ruin the final texture and make slicing uneven. - Skipping the puree step
Pureeing one-third of the meat helps bind the mixture and gives it a true lunch meat consistency. - Not mixing long enough
The stand mixer needs time to break the meat down and develop a smooth, tacky mixture. - Packing the ham maker loosely
Air pockets can create gaps and make the loaf harder to slice cleanly. - Cooking without a thermometer
You need the water at 180 degrees and the meat at 165 degrees for safe, consistent results. - Slicing before the loaf is fully chilled
Warm meat will not hold shape as well on the slicer.
When and Where This Works Best
This recipe works best when you have:
- Wild turkey breast meat ready for processing
- Access to a slicer and ham maker
- A need for sandwich meat or meal prep protein
- Hunters looking for a new way to use harvested birds
It is especially useful if you want a break from fried turkey, nuggets, or standard roasted breast recipes.
Watch the Full Video
Now that you have read the recipe, its time to get the necessary cookware for it.
Shop for cookware and spices at: Bass Pro Shops and Cabela's.
Visit a Store Near You
Find your nearest store: Store Locator.
Looking for another recipe?
Check out this Walleye Fried Rice recipe from Jenney Brough
- 1009 views